Here’s a Step-by-Step Guide on How to Add a Product Category to organize your products for your Customers:

STEP 1: Sign in Your ISIP Account
- Here is the sign-in page of ISIP
- Tap the Facebook Logo to automatically sign in with your ISIP Account.
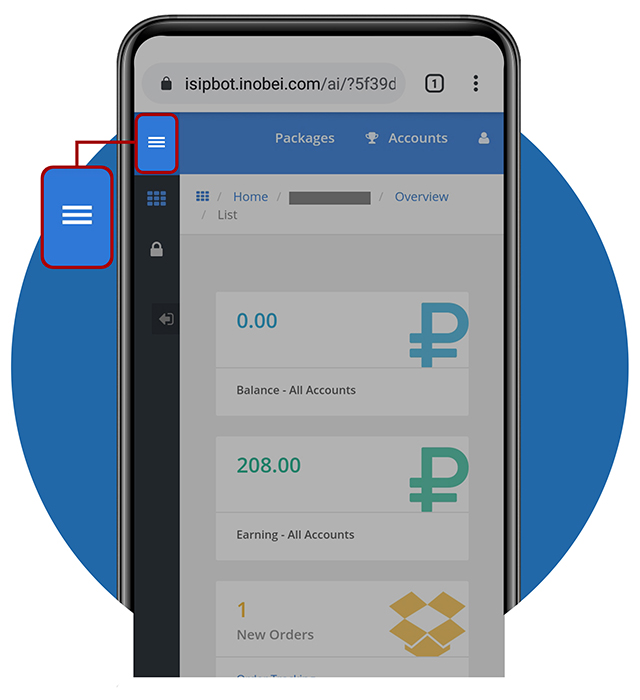
STEP 2: ISIP Account
- You are now signed in with ISIP
- Here, you can see your account
- Tap the 3 lines-button to view menus
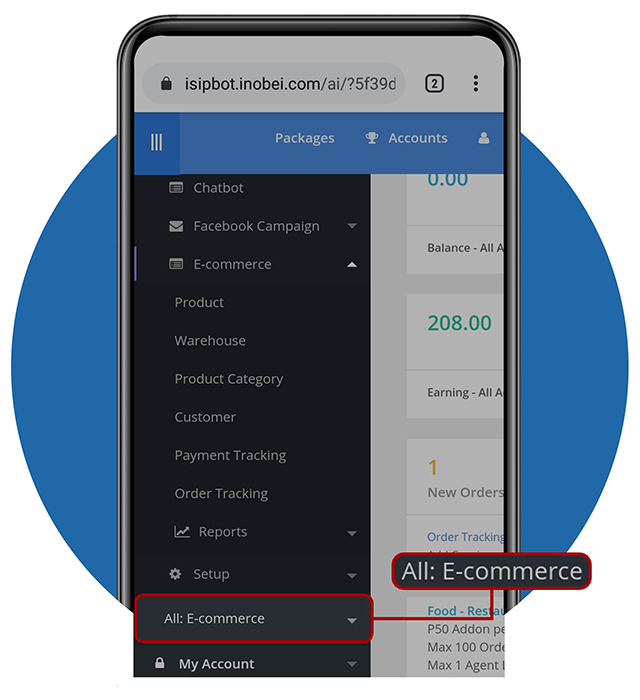
STEP 3: Selecting All E-Commerce
- When viewing the menus select the All: E-Commerce menu
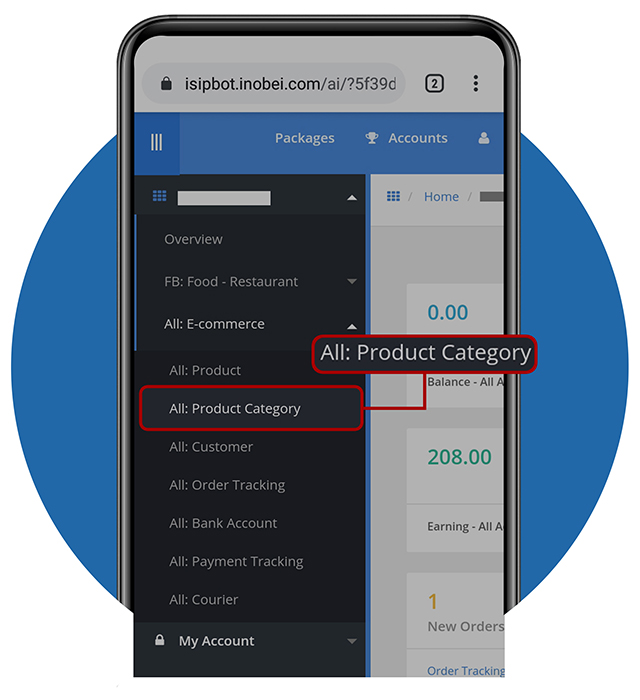
STEP 4: Selecting Product Category
- Here are the menus under All E-Commerce
- Select All: Product Category
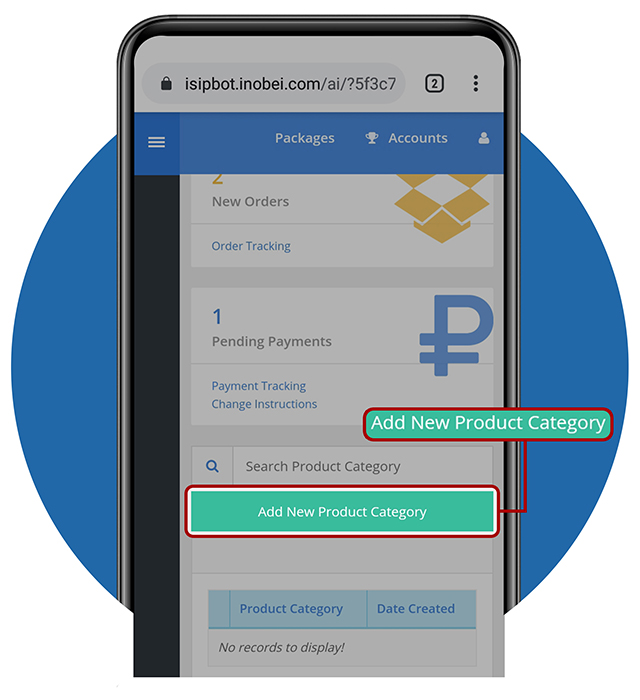
STEP 5: Product Category
- Scroll down until you see this view.
- You’ll see the product categories here. As a new user of ISIP Platform, we don’t have a product category yet.
- Tap Add New Product Category to add a Product Category
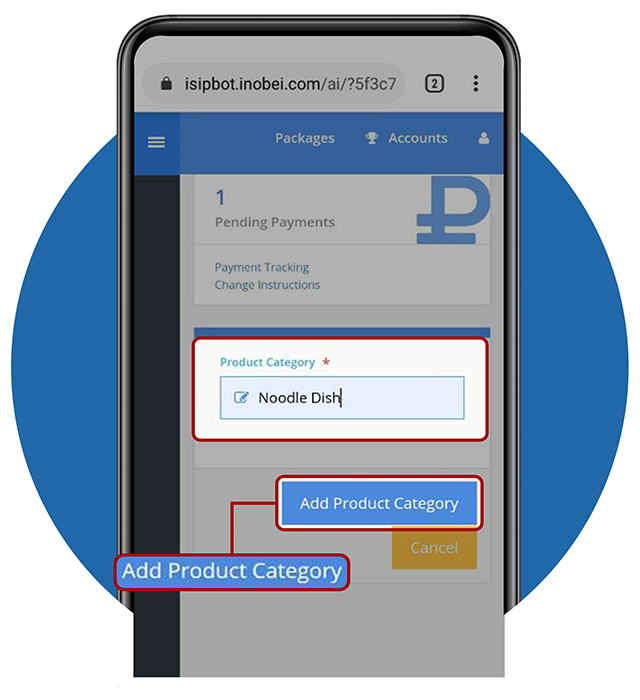
STEP 6: Adding Product Category
- Enter Product Category name, this depends on what products you sell.
- To add the product category, tap Add Product Category and you’re done!
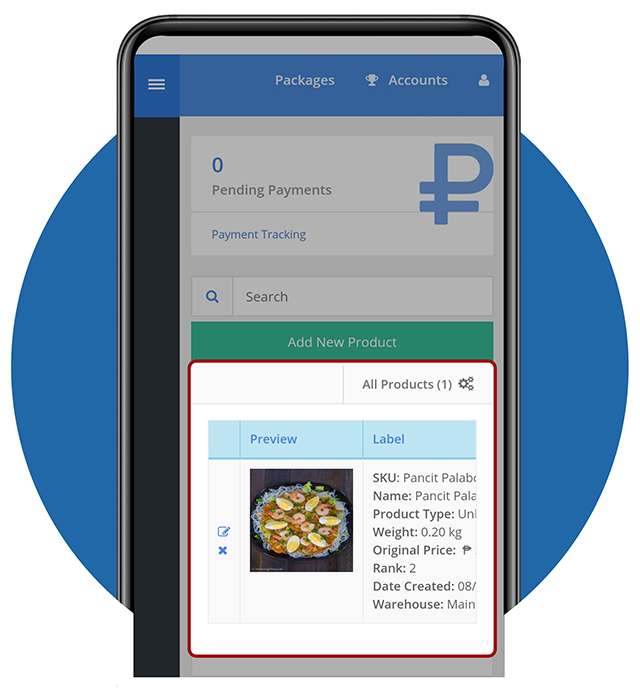
STEP 7: Product Category Has Been Added
- Here, you can view all details of Product Category that has been added.
- You can now arrange your products based on category to make it easier for your customers to choose.
- You can also edit or delete the Product Category Name by tapping the edit or delete icon beside the name.
- You can still add more product category. If you still need a guide, just go back to Step 5.